 IFRL
IFRL History
Bathurst mayor Martin Griffin sold the New South Wales government a scenic drive during the Depression and built a racetrack. Mount Panorama, Wahluu to the Wiradjuri people, opened on March 17, 1938; the first races that Easter ran on dirt and the Australian Grand Prix followed days later. The Bathurst 1000 turned the place into a national holiday. Griffin’s Bend is named for the mayor. The Chase was added in 1987 for safety. Outside event closures it’s still a two-way public road with a 60 km/h limit and residential driveways, which means the corners that frighten professionals also carry the neighbors' groceries.
Fun fact
Griffin got public money for a tourist road, then held a Grand Prix on it a month after the ribbon cutting.
The corners that matter
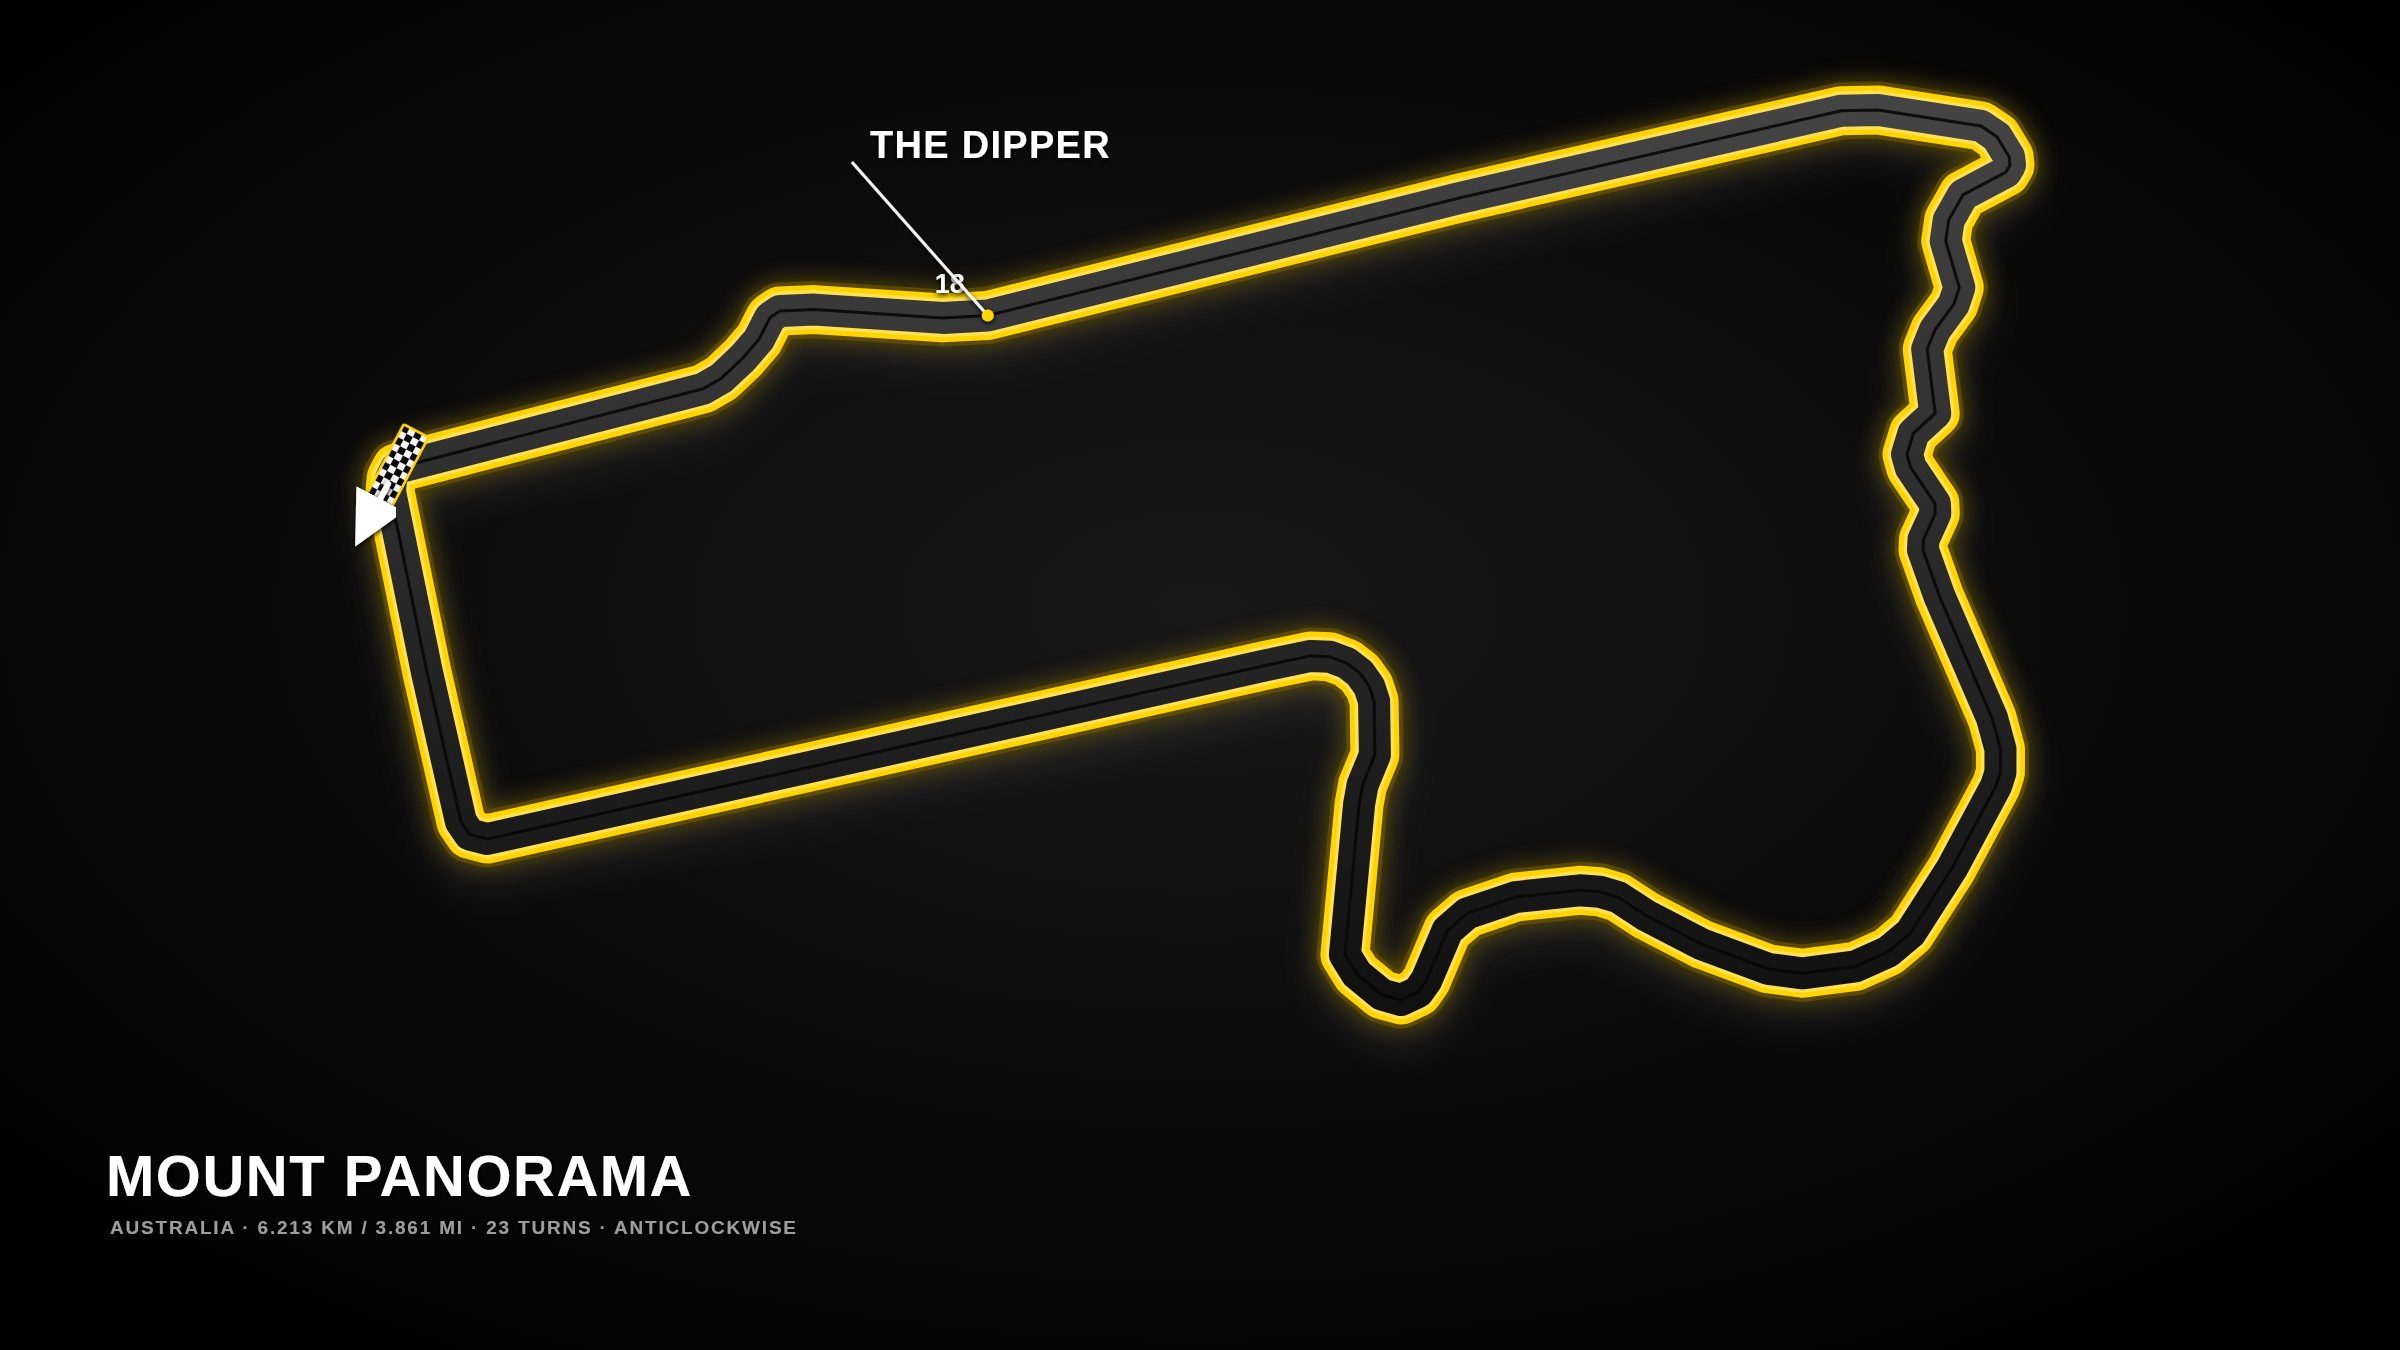
Hell Corner onto Mountain Straight is lap one with eight cars; don’t be in the middle. Griffins Bend starts the climb and tightens your room. The Cutting is steep and blind. Skyline is the crest where the track disappears; the Esses and The Dipper are where Bathurst videos come from, and the concrete gives nothing. Forrest’s Elbow dumps you onto Conrod Straight; a tidy late apex buys speed all the way down. Brake early for The Chase, the classic late-braking pass and a race-ender if you miss it. Murray’s Corner is the last hairpin and a standard pass if you survived Conrod. If someone gets loose at The Dipper, lift. There is nowhere to go.
Main-event strategy
No rain in GT7 here. Thirty minutes at Bathurst is still a mountain. One stop; tires take a beating on the climb and at The Chase. Medium-medium, or medium-soft if you can keep the second set alive down Conrod. The pit entry branches left before Murray’s; a sloppy stop costs the whole next lap because the out-lap is the mountain. Fuel at 6x is serious; Conrod is long, so short-shift the last gear if you’re close. Stable brakes and a good top end belong here: the Mercedes-AMG GT3 for composure across the top, the Nissan GT-R Nismo and the Toyota GR Supra for Conrod. A nervous car moves at Skyline and ruins your week. Playoff pool applies.
Garage notes
Medium downforce; you need the mountain and Conrod both. Gear for about 190 mph. Brake balance forward for The Chase. Firmer springs so the car doesn’t wallow over the crests, but not so stiff it skips at The Dipper.
Opener notes
The Murcielago is wide, loud, and heavy in the nose when you trail the brake. Its all-wheel drive gives traction out of Hell Corner and through Griffins; use it to survive the pack. It understeers in The Cutting and Forrest’s Elbow, so focus on clean exits onto Conrod and let the V12 do the passing. Do not pass at Skyline. Use The Chase and Murray’s.
“If you lift at Skyline, nobody needs to know. If you do not lift and you crash, everybody knows.”